
Building a Rain Barrel for Home Use: A Sustainable Solution
In an era where environmental consciousness is paramount, embracing sustainable practices has become more crucial than ever. One such practice that has gained popularity among eco-conscious individuals is the use of rain barrels. By harvesting rainwater, these ingenious systems not only reduce water consumption but also contribute to a greener future. In this comprehensive guide, we’ll explore the benefits of building a rain barrel for home use, the necessary materials, and the step-by-step process to create your own.
Why Build a Rain Barrel?
- Water Conservation: Rain barrels help capture and store rainwater that would otherwise go down the drain, reducing the strain on municipal water supplies.
- Cost Savings: By utilizing collected rainwater for activities like gardening, car washing, and even flushing toilets, you can significantly lower your water bills.
- Environmental Friendly: Rainwater harvesting reduces the demand for treated water, lessening the energy required for water treatment and distribution.
- Sustainable Gardening: Rainwater is naturally soft and free from chemicals, making it an ideal choice for watering plants and maintaining a healthy garden.
Read Also: The Best Zero Waste Grocery Stores Near You: A Comprehensive Guide and Comparison
Materials Needed
- A large plastic barrel or container (food-grade is recommended)
- A fine mesh screen or gutter guard
- Overflow pipe and fittings
- Spigot or valve for water release
- Caulk or sealant
- Drill with appropriate bits
- Saw or utility knife (for cutting holes in the barrel)
- Downspout diverter or rain barrel diverter kit (optional)
Read Also: The Best Eco-Friendly Cleaning Products for Sensitive Skin: A Comprehensive Guide
Step-by-Step Guide
-
Choose the Right Barrel: Look for a sturdy, food-grade plastic barrel with a capacity of 50-100 gallons. Repurposed barrels from food or beverage industries are ideal choices.
-
Clean and Prepare the Barrel: Thoroughly clean the barrel with a mild soap solution and rinse it well to remove any residues or contaminants.
-
Cut the Openings: Using a saw or utility knife, carefully cut the openings for the downspout diverter or rain barrel diverter kit (if using one), the overflow pipe, and the spigot or valve.
-
Install the Mesh Screen: Cut a fine mesh screen or gutter guard slightly larger than the top opening of the barrel. Secure it in place using caulk or sealant to prevent debris and insects from entering the barrel.
-
Attach the Overflow Pipe: Install the overflow pipe near the top of the barrel, angled downwards to direct excess water away from the foundation of your home.
-
Install the Spigot or Valve: Drill a hole near the bottom of the barrel and install the spigot or valve, ensuring a tight and secure fit.
-
Connect the Downspout Diverter (Optional): If using a downspout diverter or rain barrel diverter kit, follow the manufacturer’s instructions to connect it to your existing downspout and the barrel.
-
Level and Position the Barrel: Place the barrel on a level, stable surface near the downspout or desired water collection area.
-
Secure and Stabilize: If necessary, secure the barrel to prevent tipping or movement, especially during heavy rain or wind.
-
Enjoy Your Rainwater Harvest: Once set up, your rain barrel will start collecting rainwater, providing a sustainable and cost-effective water source for various household needs.
Read Also: Unleashing Nature’s Magic: The Incredible Benefits of Composting Food Scraps and Reducing Waste
Choosing the Right Rain Barrel: A Comparison
When selecting a rain barrel, consider factors such as capacity, material, and features to ensure it meets your needs. Here’s a comparison table to help you make an informed decision:
| Feature | Plastic Barrel | Wood Barrel | Metal Barrel |
|---|---|---|---|
| Capacity | Typically 50-100 gallons | Varying sizes available | Varying sizes available |
| Durability | Moderate to high | High | High |
| Cost | Affordable | Moderate to expensive | Moderate to expensive |
| Maintenance | Low | Moderate (require periodic sealing) | Moderate (prone to rust) |
| Aesthetics | Basic appearance | Rustic and decorative | Industrial or modern look |
| Insulation | Poor | Good insulation properties | Poor to moderate insulation |
Read Also: The Ultimate Guide to Upcycled Crafts for Adults: Unleash Your Creativity and Sustainability
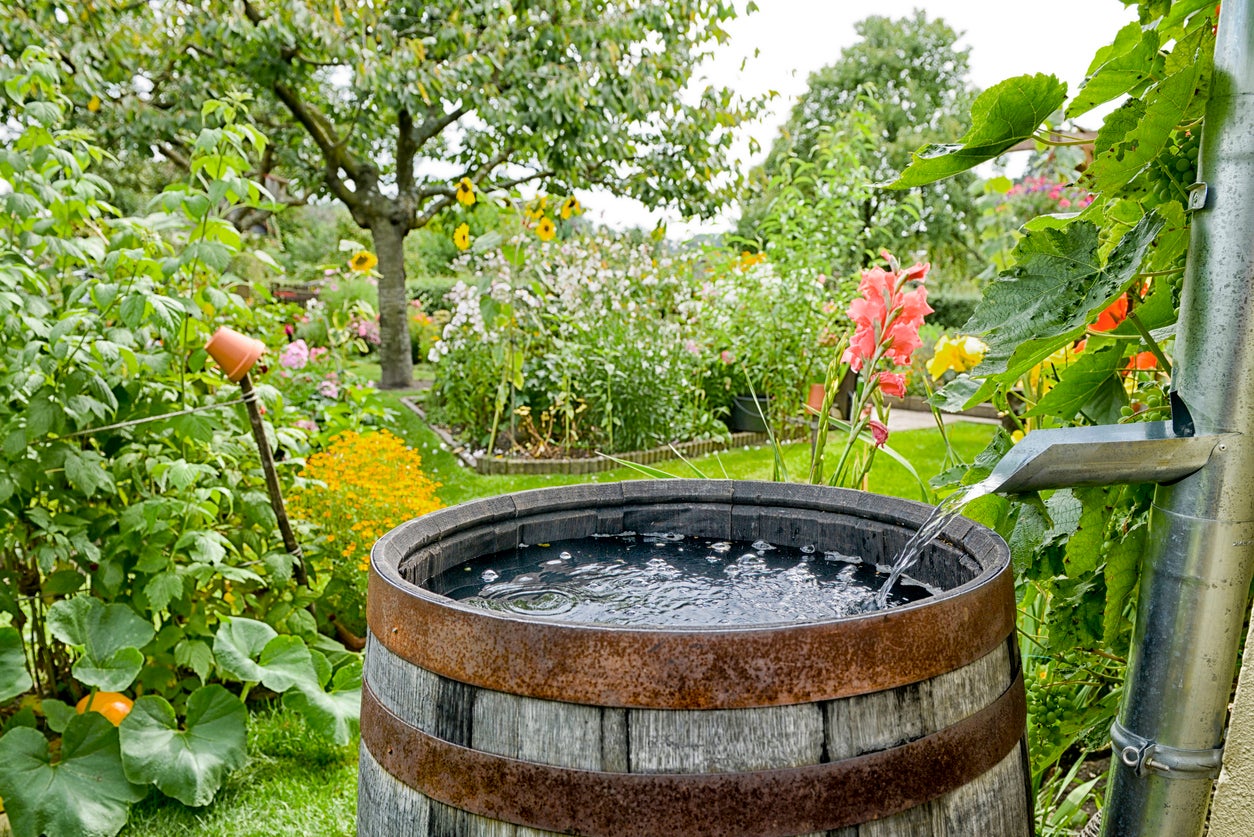
Integrating Rain Barrels into Your Landscape
Once you’ve built your rain barrel, consider incorporating it into your landscaping for a cohesive and visually appealing setup. Here are a few ideas:
- Raised Platform: Place the rain barrel on a raised platform or decorative stand to enhance its visibility and accessibility.
- Screening or Fencing: Use decorative screening or fencing to conceal the rain barrel, creating a more seamless integration with your outdoor space.
- Planting Around the Barrel: Surround the rain barrel with plants and flowers, creating a beautiful and functional garden area.
- Paint or Decorate: Personalize your rain barrel by painting it or adding decorative elements to match your home’s aesthetic.
Read Also: https://ecoreef.co/2024/05/19/breathe-easy-discovering-air-quality-monitoring-stations-near-me/
By integrating your rain barrel into your landscape, you not only create a functional water-saving solution but also add a unique and creative touch to your outdoor living space.
Maintenance and Troubleshooting
To ensure your rain barrel functions optimally and lasts for years, it’s essential to follow proper maintenance practices:
- Clean Regularly: Remove debris and clean the mesh screen periodically to prevent clogging and ensure smooth water flow.
- Inspect for Leaks: Check for leaks around the spigot, overflow pipe, and connections, and apply sealant or replace parts as needed.
- Winterize: In colder climates, drain and disconnect the rain barrel during the winter months to prevent freezing and potential damage.
- Monitor Water Quality: Regularly check the water in your rain barrel for any signs of algae growth or contamination, and take appropriate measures to address any issues.
By following these simple maintenance steps, you can enjoy the benefits of your rain barrel for years to come.
Conclusion
Building a rain barrel for home use is an excellent way to contribute to a more sustainable future while saving money on your water bills. With the right materials and a bit of DIY enthusiasm, you can create a functional and eco-friendly rainwater harvesting system. Embrace this practical and rewarding project, and join the growing community of environmentally conscious individuals making a positive impact on our planet, one drop at a time.
Remember, every effort towards sustainability counts, and by building your own rain barrel, you’re taking a significant step in the right direction. So, what are you waiting for? Gather your materials, follow the step-by-step guide, and start harvesting rainwater today!

Leave a Reply